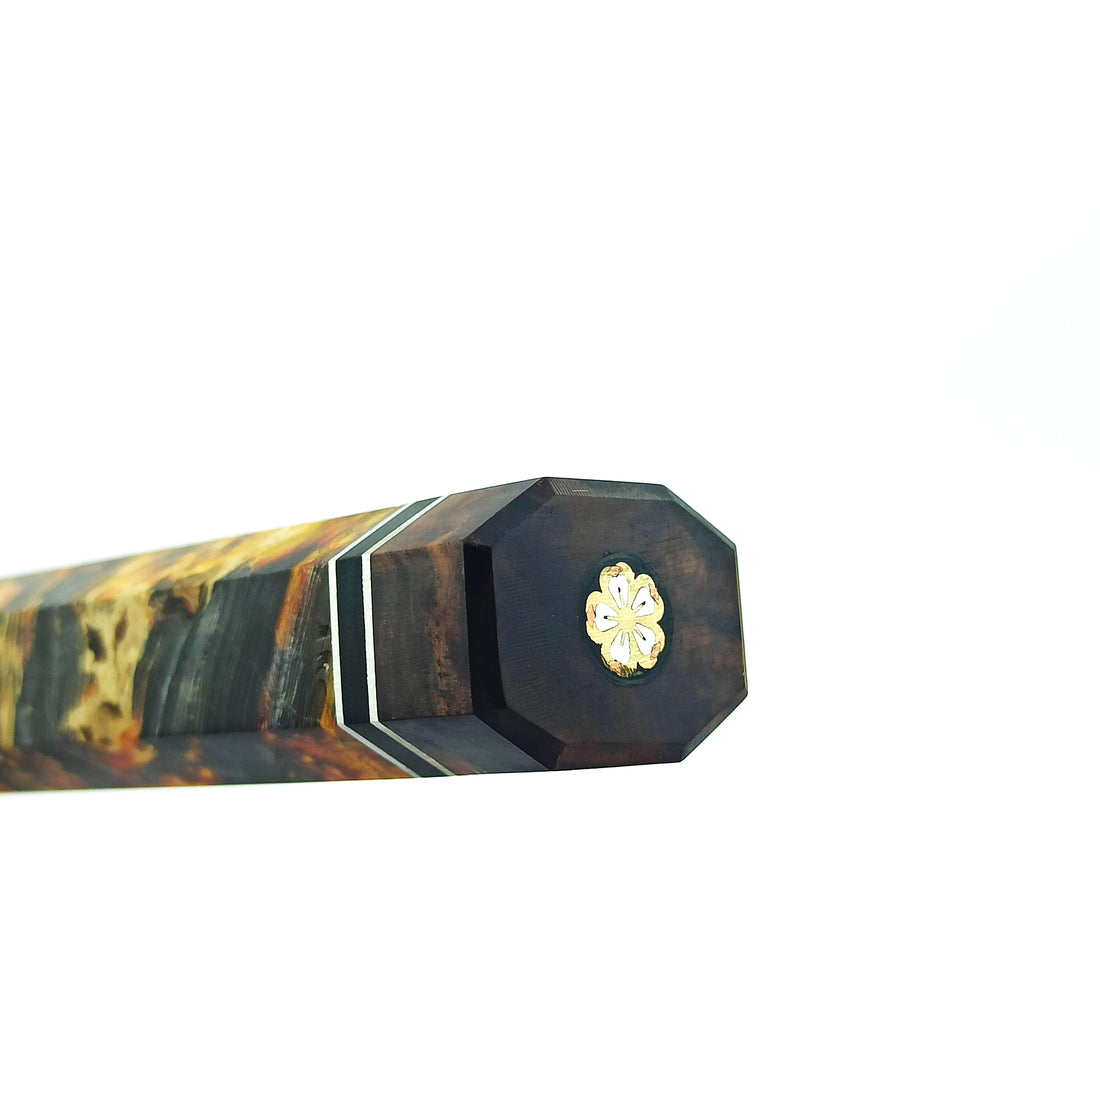
HOW TO MAKE A KNIFE HANDLE
Contents
- Preparing Yourself
- Materials and Tools
- Using Mosaic Pins
- Knife Handle Assembly
- Grinding and Sanding the Handle
- Finishing the Handle
- Knife Handle Making (Video)
In the grand tapestry of knife-making, one component often eludes the spotlight: the handle. Yet, it is this humble structure that plays a vital role in the grip and operability of your blade. Join me on this journey to craft a knife handle that is not only functional but also a testament to the beauty of natural materials, using an assembly of exquisite wooden slabs and Mosaic Pins.


The knife handle, often underestimated, is paramount for the effective performance of a knife. A well-crafted handle ensures a comfortable grip—essential for precision and control. Selecting quality materials tailored to your knife's purpose guarantees the longevity and endurance of this integral part of your tool.
PREPARING YOURSELF
In this intricate project, we will explore the art of creating an assembly handle for a through-tang knife. Our handle will feature an exquisite combination of maple wood and Honduras Rose Burl Wood. There is also a Sakura Model Mosaic Pin in handle. Throughout this endeavor, we shall engage in both machine work and manual craftsmanship, incorporating sanding and polishing techniques.
Let us gather our raw materials. For this knife, a mosaic Damascus blade with its slender through-tang has been chosen. You can also view our selections in here
The selection of handle material is paramount, influenced by both aesthetic and functional desires.
MATERIALS AND TOOLS
For this meticulous project, we shall require the following tools:
- Vertical band saw
- Milling machine
- Knife-making belt grinder
- Miniature cutoff saw
- Needle files
- Drilling machine
- Thread-cutting tool
In addition, we will need these expendable materials:
- Wood materials
- Mosaic Pins
- Grinding/sanding belts
- Sandpaper
- Polishing paste
USING MOSAIC PINS
Incorporating mosaic pins into your knife handle design elevates both aesthetics and functionality. These pins are crafted to provide additional stability and an exquisite visual appeal. To install mosaic pins, first drill appropriate-sized apertures in the handle insets, ensuring a snug fit. Once the holes are prepared, carefully insert the mosaic pins and secure them using epoxy for a lasting bond. This method not only reinforces the handle but also creates a captivating interplay of colors and textures, making each knife a unique work of art.
Using mosaic pins in knife handles adds a special and aesthetic touch to your creation. You can select any design from our website, or share your desired design with us, and we can transform it into mosaic pins for your knife
GRINDING AND SANDING THE HANDLE
Our objective is to sand all handle components until they are flush with the bolster and butt section. Commence sanding along the outer edges, carefully rotating the knife over the sanding belt to achieve the desired contours and perfect alignment. Additional filing will allow for further shaping as needed. When content with the form, finish with sanding using paper of 400 to 600 grits, although higher grits may be employed for a glossier finish.
FINISHING THE HANDLE
At last, we arrive at the final touch: polishing the handle to achieve a refined, glossy appearance. Apply a wood polish uniformly across the surface, and with the sander, smooth down the entire handle. This procedure may be repeated as desired, allowing the knife to rest overnight with its polished coat. You may choose to reiterate this process until you are thoroughly satisfied with the final product.
And there you have it! The knife handle is now complete. This project features a demountable handle, easily dismantled by unscrewing the titanium nut—a thoughtful design for those who seek compactness for travel, maintenance, or other needs.

As we reflect on this guide, it becomes evident that each component of a handmade knife requires an abundance of time, expertise, and passion. This is why high-quality custom knives come with a price; a greater investment signifies unparalleled craftsmanship. Each handmade knife, born from the hands of a skilled artisan, undergoes rigorous supervision and scrutiny throughout its creation—from butt to tip—to ensure that the knifemaker delivers only the finest quality and exceptional service. If you seek your very own custom knife, you can find one here.


